How to deploy the Portainer Community Edition (CE) on Ubuntu 22.04.4 LTS

Here is a quick overview with the basic steps how to deploy the Portainer Community Edition (CE) on a Ubuntu server running Docker.
Portainer is a universal container management platform for your Docker containers. You can simply consider it a graphical user interface to manage en deploy your containers. Did I mention they have a free 🤑 version you can use? Their Community Edition (CE) is free for you to use!
Before you start make sure you have access to a device running Ubuntu server and a server account with sufficient privileges.
Check out these sources for more information, requirements and instructions:
Source: https://www.portainer.io/
Documentation: https://docs.portainer.io/start/install-ce
Start with an updated OS
Our target is virtual machine with Ubuntu Server version 22.04.4 LTS installed.
It is always a good idea to start with an up to date operating system so the first step will be updating/upgrading this machine with the latest patches.
sudo apt-get update /
sudo apt-get upgrade
Create folder for the portainer volume
Create a folder for the volume that Portainer Server will use to store its database:
sudo mkdir -p /data/dockerdata/portainer/dataNow download and deploy the Portainer Server container:
sudo docker run -d -p 8000:8000 -p 9443:9443 --name portainer --restart=unless-stopped -v /var/run/docker.sock:/var/run/docker.sock -v /data/dockerdata/portainer/data:/data portainer/portainer-ce:latest👇 Example output 👇
techfossa@techfossa-demo-01:/$ sudo docker run -d -p 8000:8000 -p 9443:9443 --name portainer --restart=unless-stopped -v /var/run/docker.sock:/var/run/docker.sock -v /data/dockerdata/portainer/data:/data portainer/portainer-ce:latest
Unable to find image 'portainer/portainer-ce:latest' locally
latest: Pulling from portainer/portainer-ce
4127d56428a3: Pull complete
ffdedde80950: Pull complete
d40df14c1d7a: Pull complete
8215717c7c10: Pull complete
542669febe7c: Pull complete
6c27c7f45b54: Pull complete
2bf3749c374f: Pull complete
9ec75a7d735a: Pull complete
2adca833faf7: Pull complete
7509ba5b135f: Pull complete
4f4fb700ef54: Pull complete
Digest: sha256:a5e6d58c93bea2988b604f9c9b1afaa30dc213532dfd9beb7774429146276604
Status: Downloaded newer image for portainer/portainer-ce:latest
730e9777e1665f64120cae928a007198b35f93e2607d9201faa0b961d8115d50
techfossa@techfossa-demo-01:/$
That output look promising, now let's check if the Portainer container is created and running:
sudo docker ps👇 Example output 👇
techfossa@techfossa-demo-01:/$ sudo docker ps
CONTAINER ID   IMAGE                           COMMAND        CREATED          STATUS          PORTS                                                                                            NAMES
730e9777e166   portainer/portainer-ce:latest   "/portainer"   11 minutes ago   Up 11 minutes   0.0.0.0:8000->8000/tcp, :::8000->8000/tcp, 0.0.0.0:9443->9443/tcp, :::9443->9443/tcp, 9000/tcp   portainer
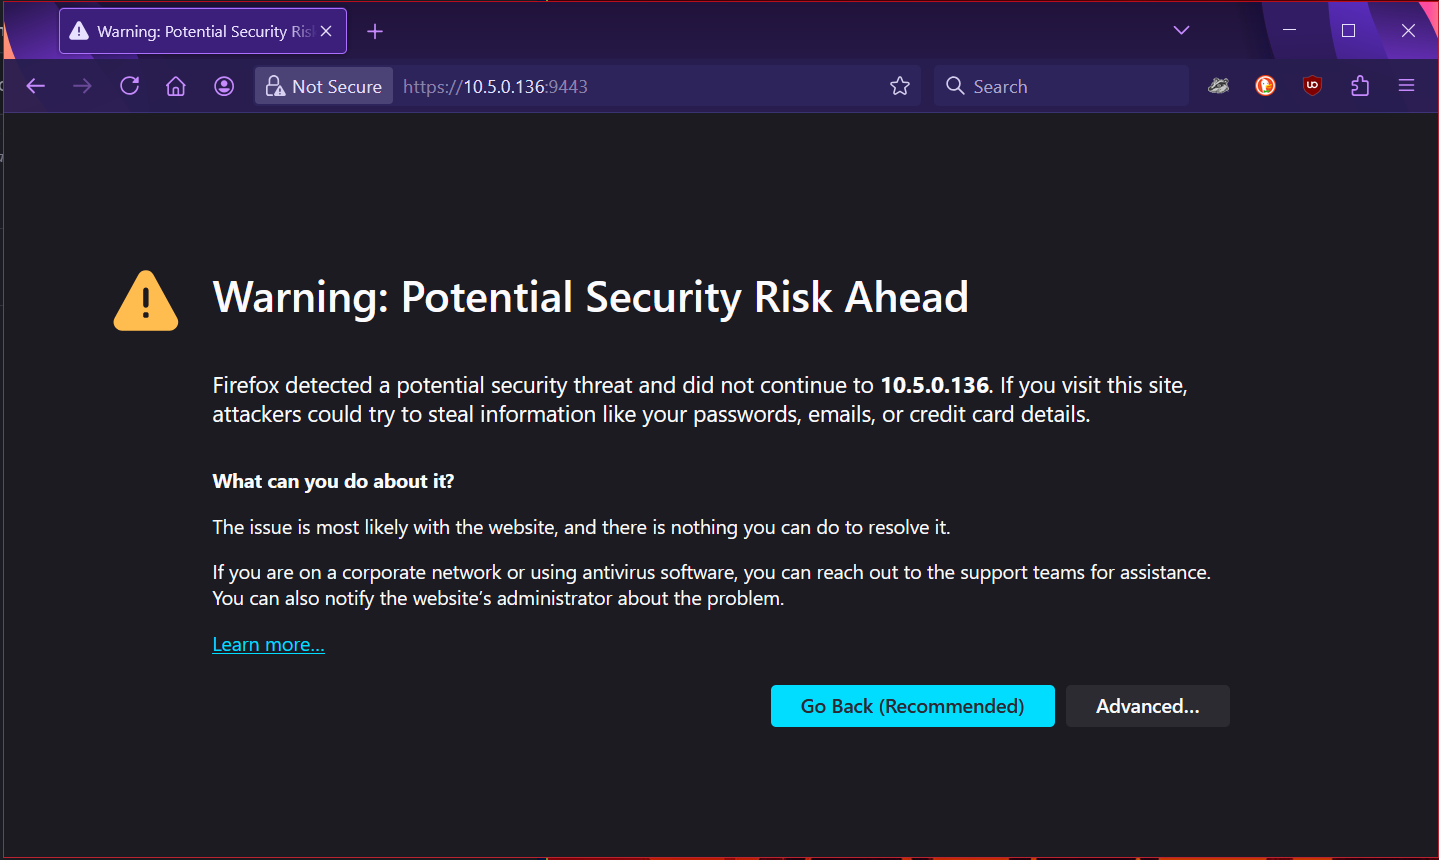
It looks okay, now open the Portainer web interface, in this case on https://10.5.0.136:9443/
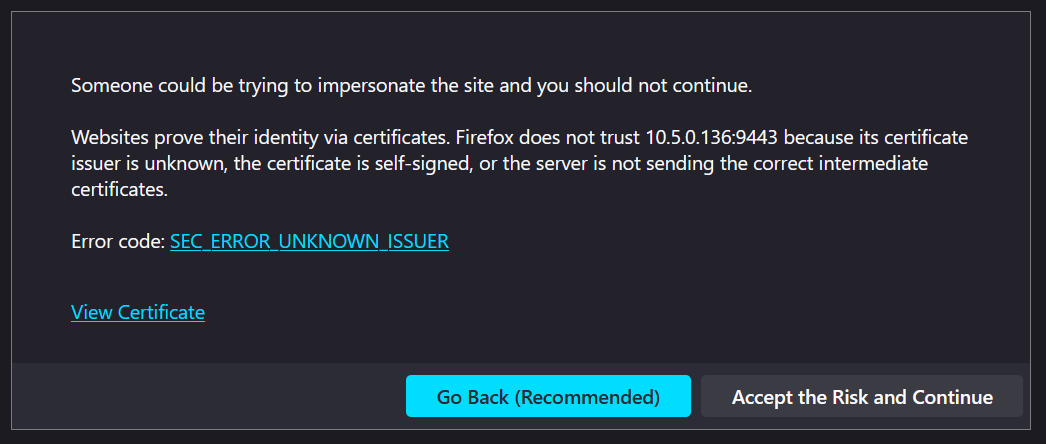
Because Portainer generated and is using a self-signed SSL certificate to secure port 9443 you can expect a notification as below depending on your browser.
Choose Advanced... and in the next notification choose Accept the Risk and Continue.
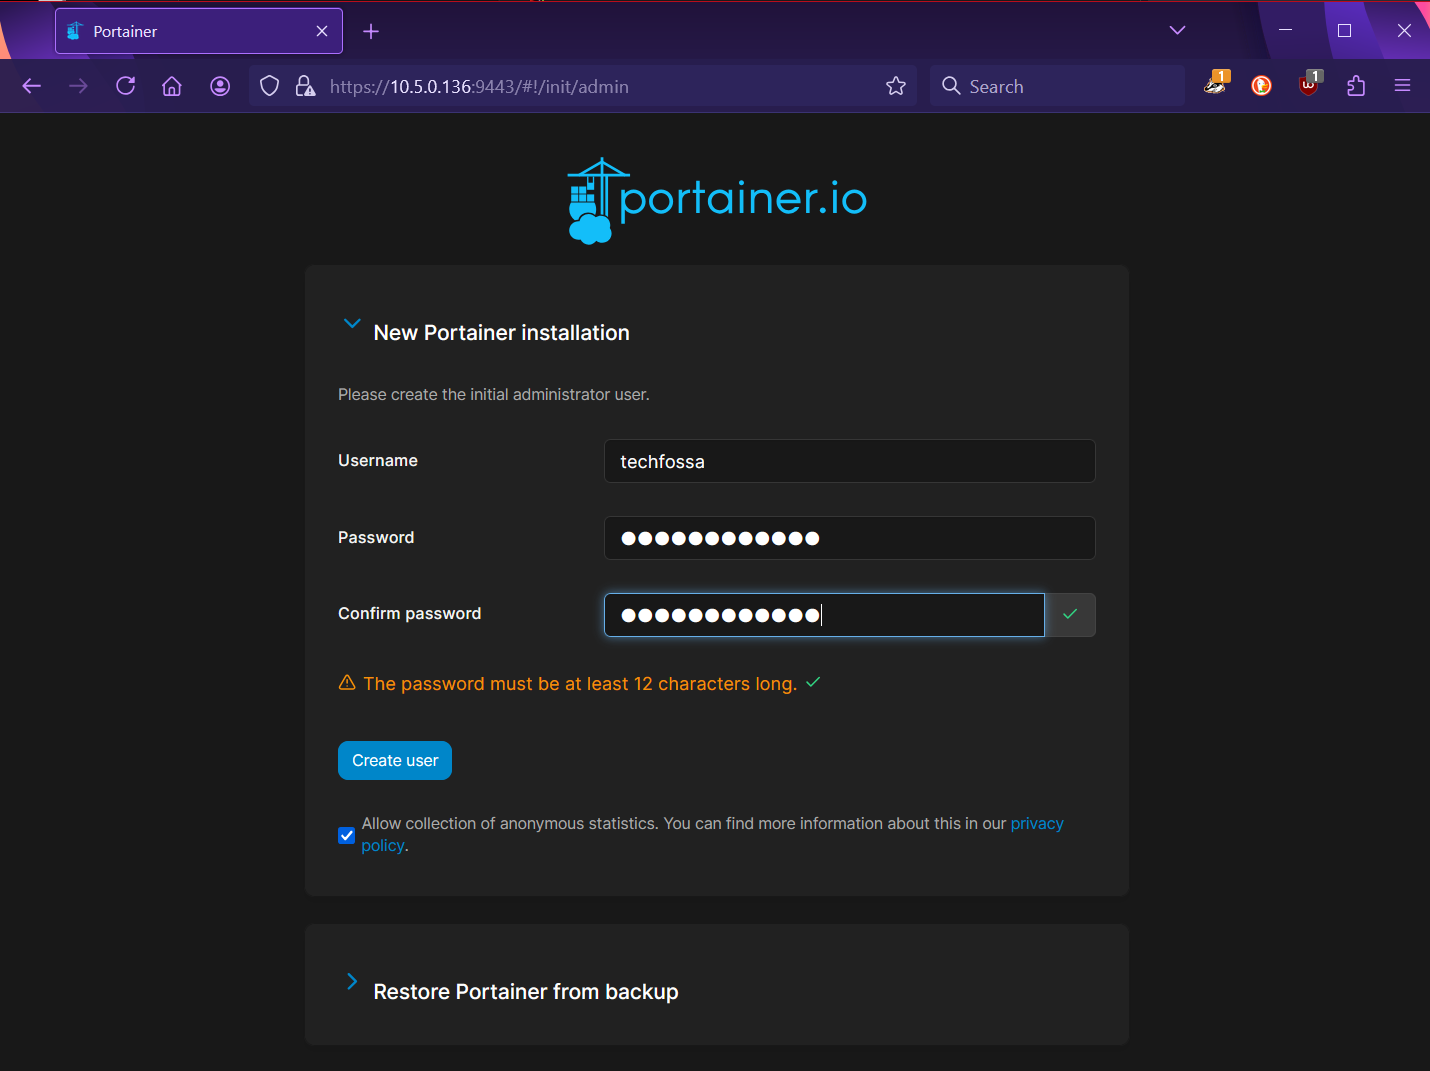
You should now see the new Portainer installation screen.
Enter your username and password of choice and decide if you want to allow Portainer to collect statistics
To continue click on the Get Started square
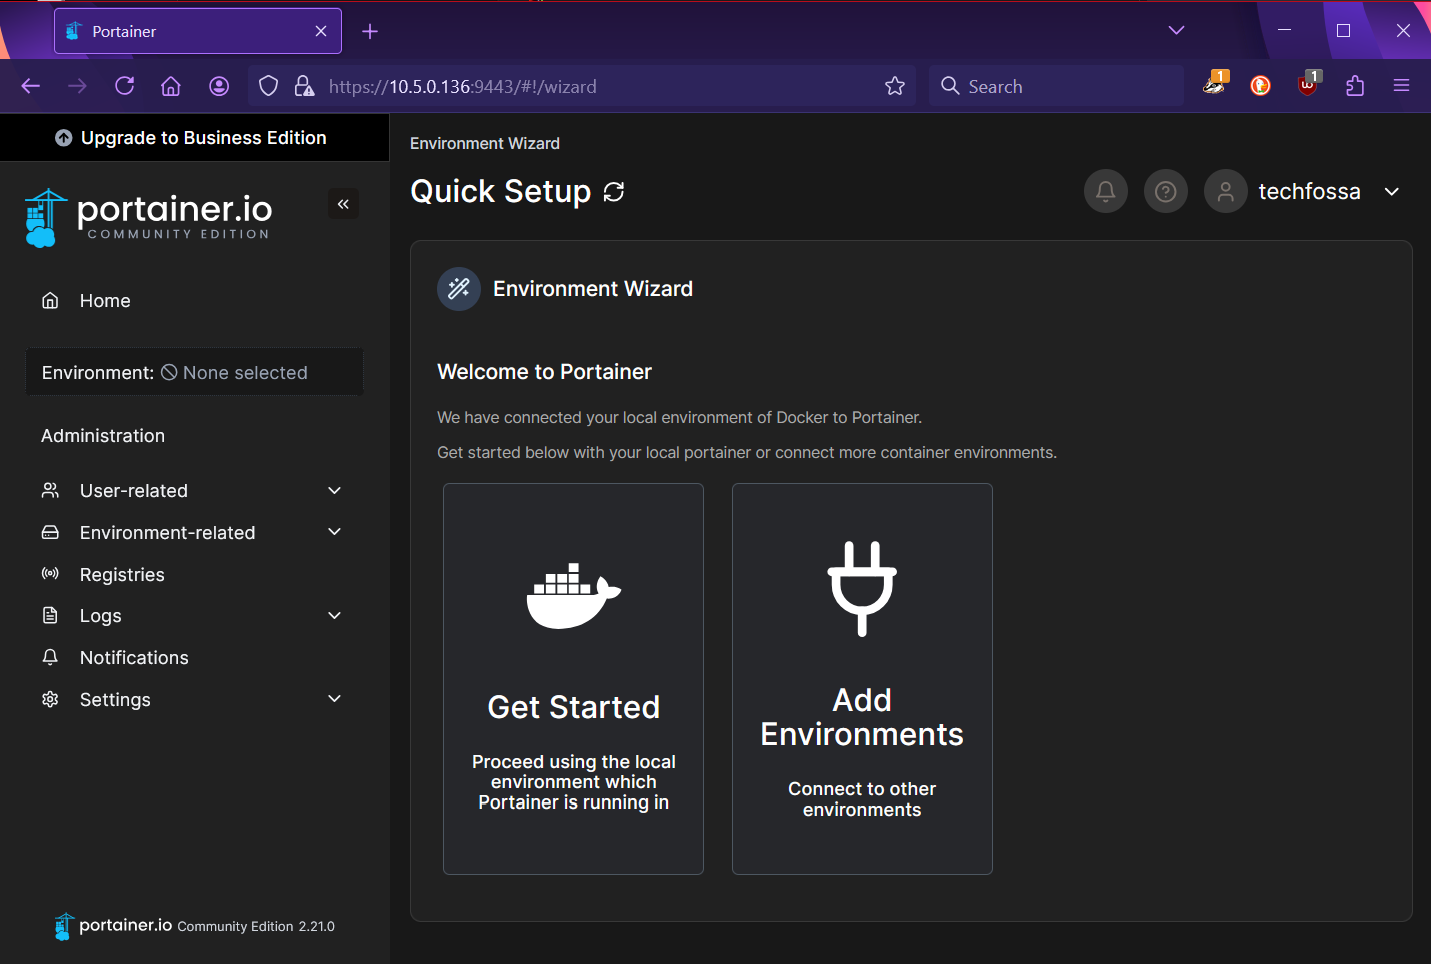
On the next screen click somewhere in the area shown below to select the local Portainer environment:

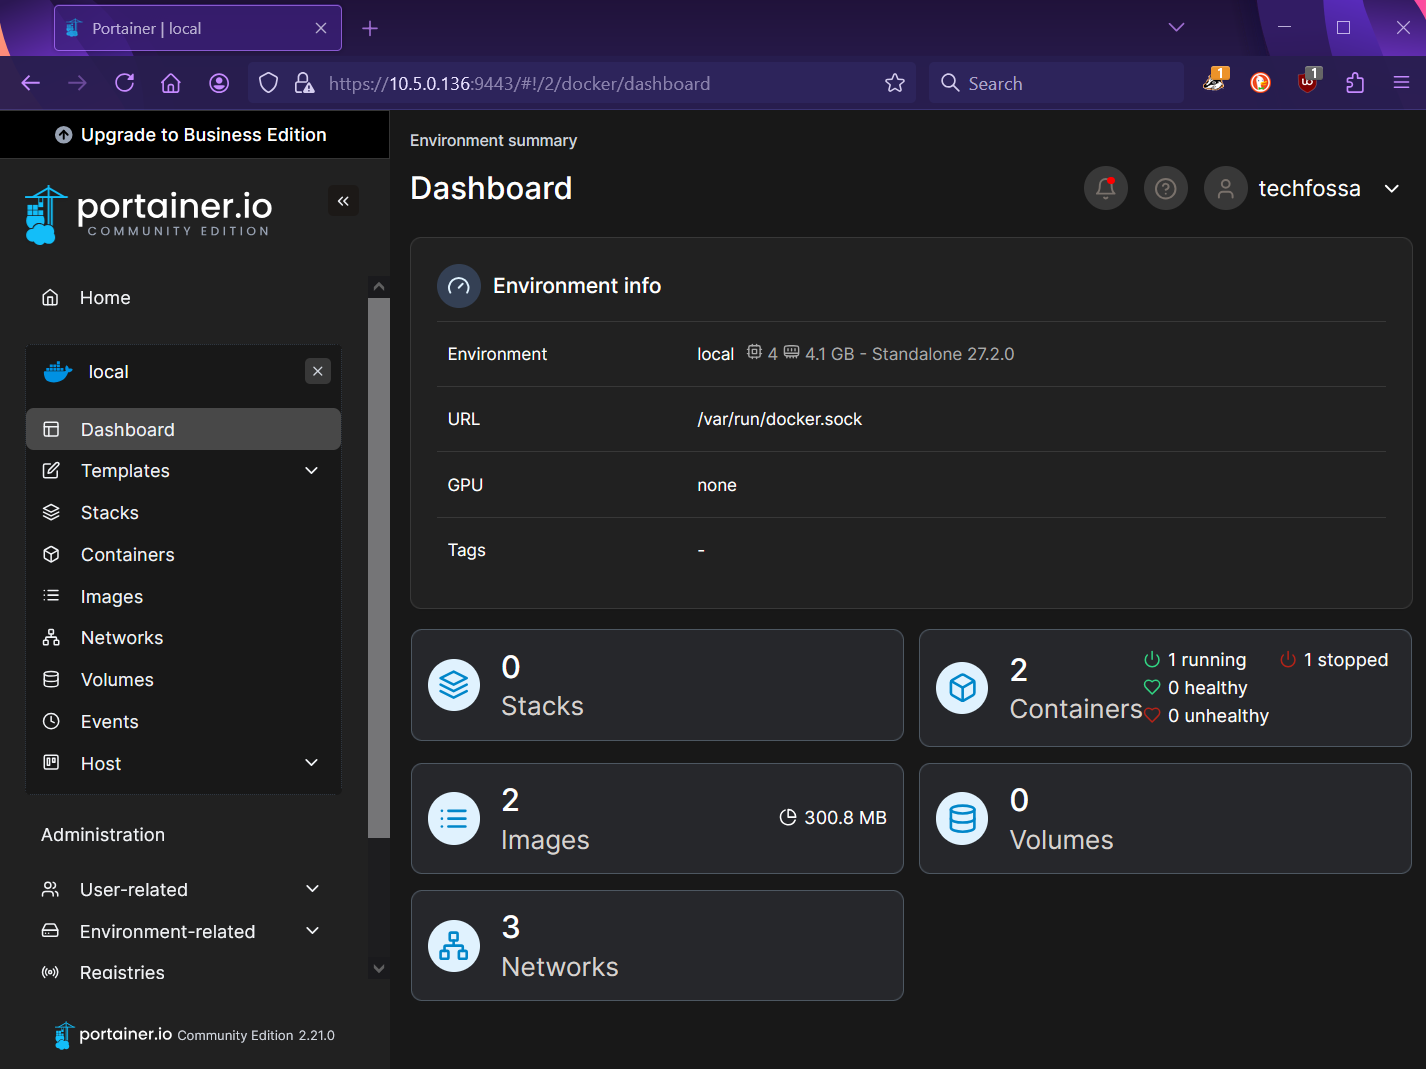
You should now see the Portainer Dashboard:
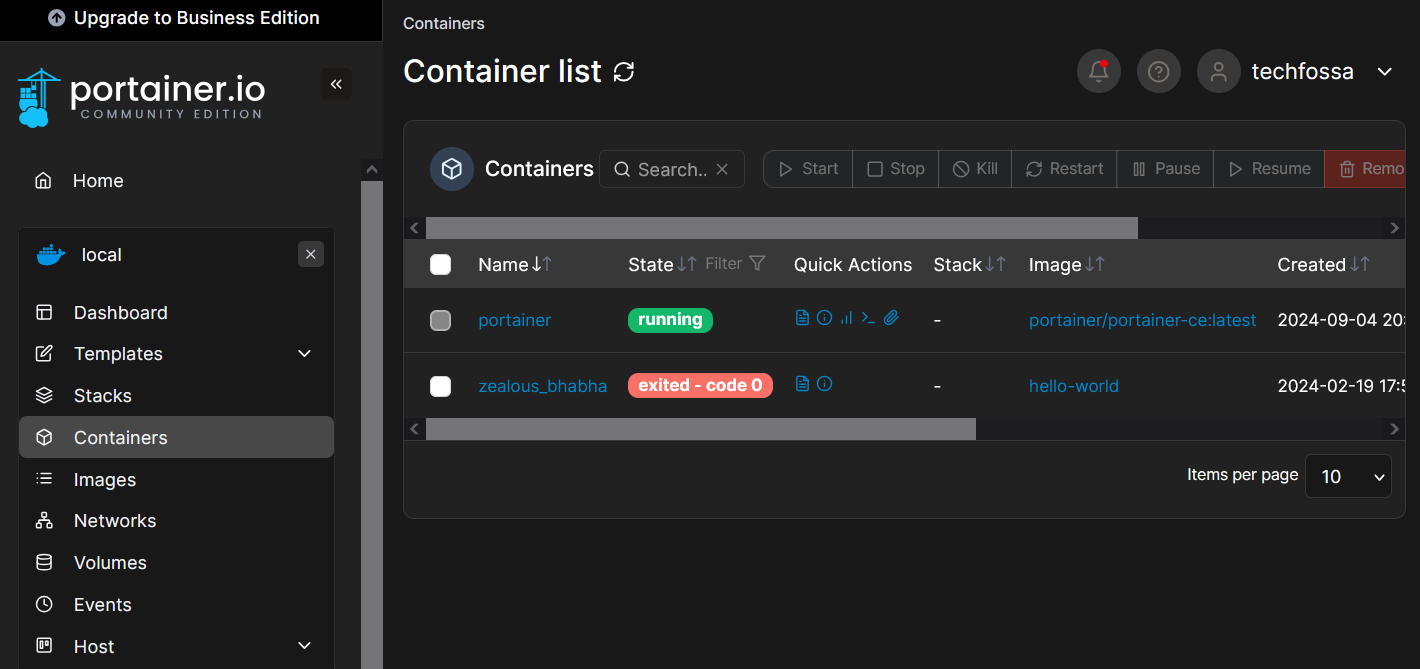
Select Containers in the local menu on the left to show all containers: