
How to deploy Uptime Kuma v2 (Docker Container)

Here is a quick overview with the basic steps to deploy Uptime Kuma v2 on a Ubuntu server running Docker.
Uptime Kuma is a fancy self-hosted monitoring tool which had a major upgrade from version 1 to version 2. (Kuma (クマ/熊) means bear 🐻 in Japanese.)
Before you start make sure you have access to a device with a Docker engine running and an account with sufficient privileges.
Check out these sources for more information, requirements and instructions:
Source: https://github.com/louislam/uptime-kuma
Documentation: https://github.com/louislam/uptime-kuma/wiki
WWW: https://uptime.kuma.pet/
Start with an updated OS
Our target is a virtual machine with Ubuntu Server version 24.04.3 LTS installed an IP number 10.5.0.134.
It is always a good idea to start with an up to date operating system so the first step will be updating/upgrading this machine with the latest system updates.
sudo apt-get update | sudo apt-get upgrade -yCreate a volume folder
Create a folder for the volume that Uptime Kuma v2 will use to store its data. (This version will be deployed on the same Ubuntu server where Uptime Kuma v1 is running.)
sudo mkdir -p /data/dockerdata/uptimekuma2/dataCreate a Docker compose file
Create a Docker compose file. Since there is also an Uptime Kuma v1 deployed on the same server the docker-compose.yml needs some specific values to be able to run both versions on the same server.
sudo nano /data/dockerdata/uptimekuma2/docker-compose.ymlPaste the content below into the docker-compose.yml and save the file
services:
  uptime-kuma-2:
    container_name: uptime-kuma-2
    image: louislam/uptime-kuma:2
    ports:
      - "3002:3001"
    volumes:
      - /data/dockerdata/uptimekuma2/data:/app/data
    restart: unless-stopped
Download image and deploy container
Now we are ready to download the Uptime Kuma v2 image and create the Docker container and volume.
cd /data/dockerdata/uptimekuma2 | docker compose up -dExample output:
techfossa@techfossa-demo-01:/data/dockerdata/uptimekuma2$ cd /data/dockerdata/uptimekuma2 | docker compose up -d
[+] Running 15/15
 ✔ uptime-kuma-2 Pulled                 18.5s
   ✔ 5c32499ab806 Pull complete     1.5s
   ✔ c236995d12f2 Pull complete      1.6s
   ✔ ab9c5ae25e4d Pull complete     2.5s
   ✔ 997b350cffa1 Pull complete       2.6s
   ✔ cc663995c53d Pull complete     2.6s
   ✔ c96d1635ad09 Pull complete     2.8s
   ✔ 26fe02595b64 Pull complete     2.9s
   ✔ ce43fa88f43a Pull complete       3.6s
   ✔ 17b86553b1c8 Pull complete    3.8s
   ✔ fe60297d5e1c Pull complete     3.8s
   ✔ b7f9c2a776ef Pull complete     3.9s
   ✔ 1cd175334932 Pull complete   12.6s
   ✔ 485f386a5929 Pull complete    12.7s
   ✔ 66c528ee7b51 Pull complete    16.8s
[+] Running 2/2
 ✔ Network uptimekuma2_default  Created    0.0s
 ✔ Container uptime-kuma-2      Started   0.2s
techfossa@techfossa-demo-01:/data/dockerdata/uptimekuma2$
No errors so we can continue to the url of Uptime Kuma v2: http://10.5.0.134:3002/ .
Your browser might give a warning since the connection to the Uptime Kuma webinterface is not encrypted with TLS/SSL.
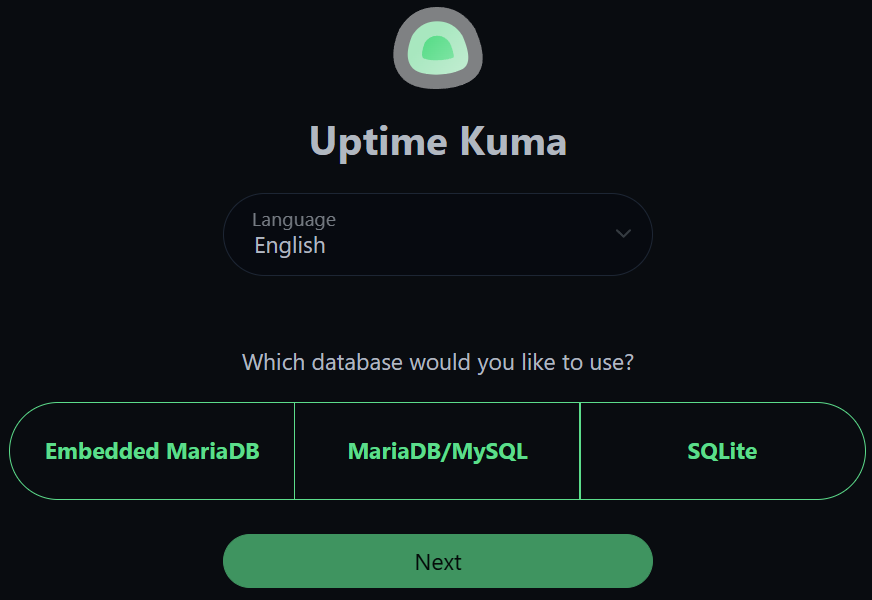
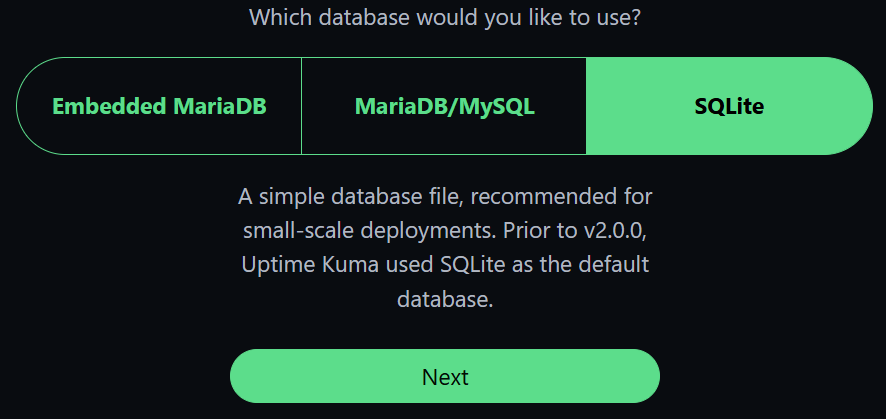
A setup page like below should be visible:
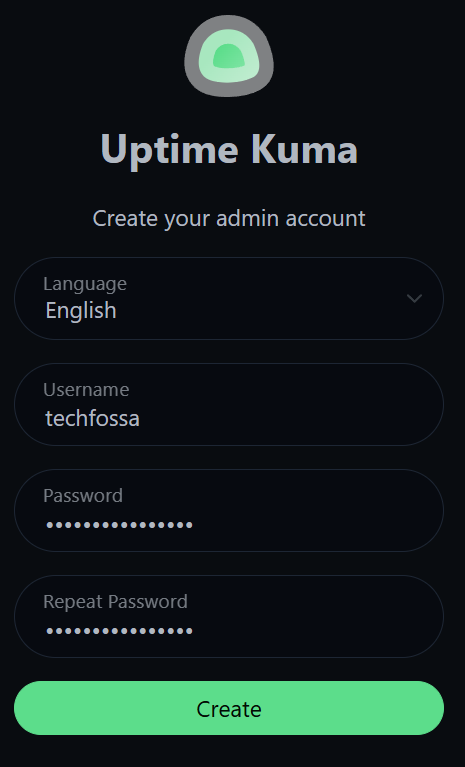
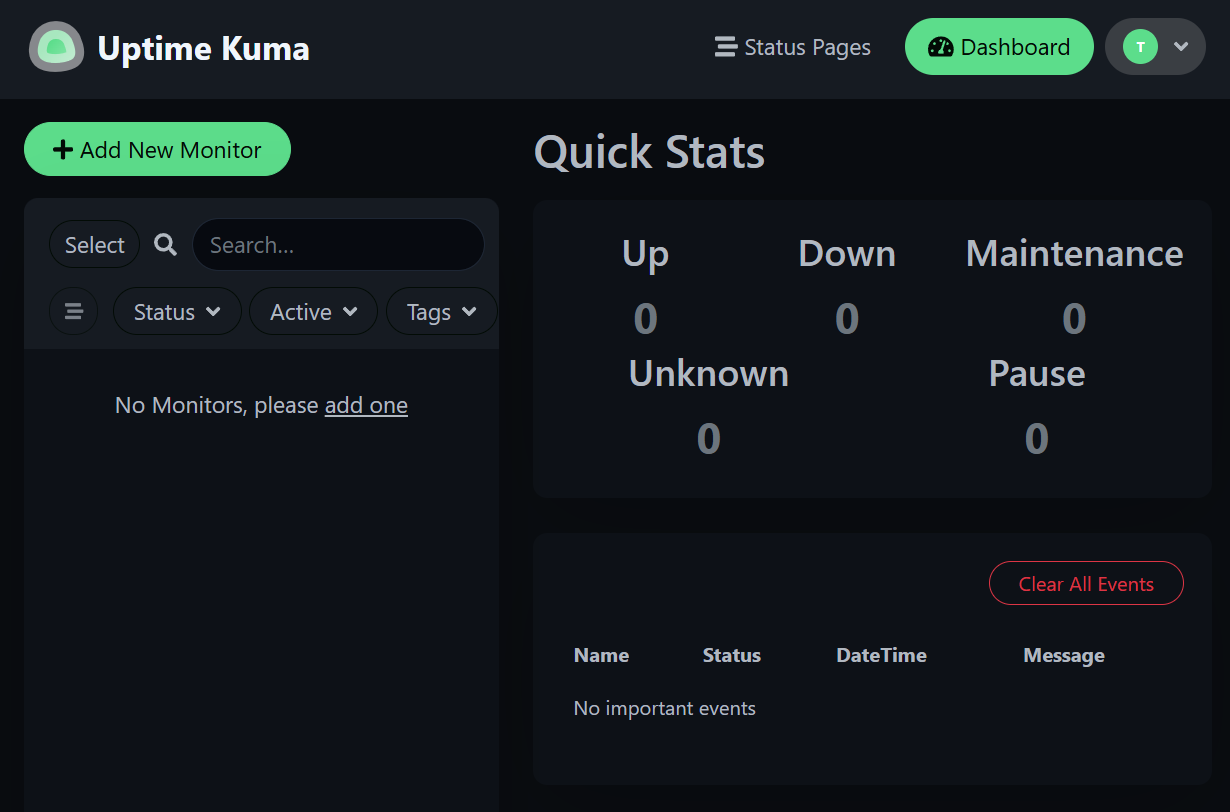
Now you are ready to create your first (example) Monitor.
Click on the green + Add New Monitor button.
Under Add New Monitor > General
Select Monitor Type > HTTP(s)
Under Friendly Name > enter https_techfossa.nl
Under URL > enter https://techfossa.nl
Select Certificate Expiry Notification
Click on the green Save button on the bottom of the page to create your first Monitor

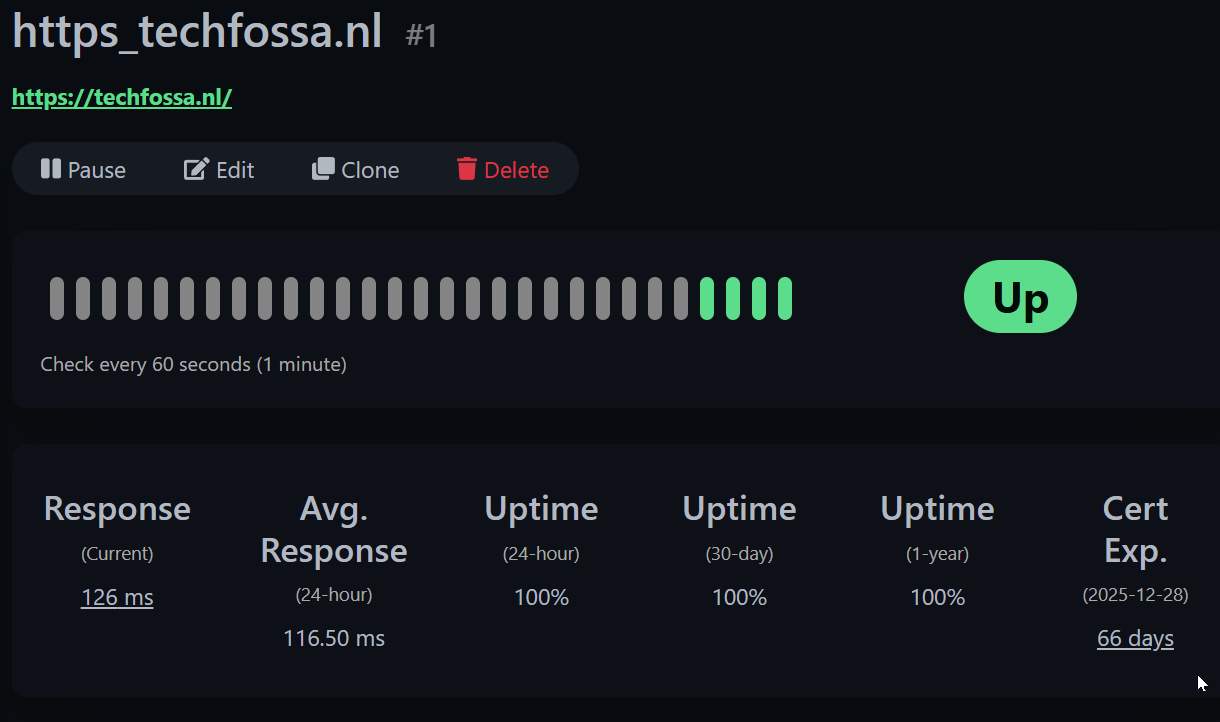
You have now created your own Uptime Kuma v2 instance running in a docker container! 💯
It is also possible to setup Status Pages and Notifications. Notifications can be an important part of monitoring so be sure take a look at this.
There are also loads of Settings to tweak to your wishes.
Have fun exploring and using Uptime Kuma v2!